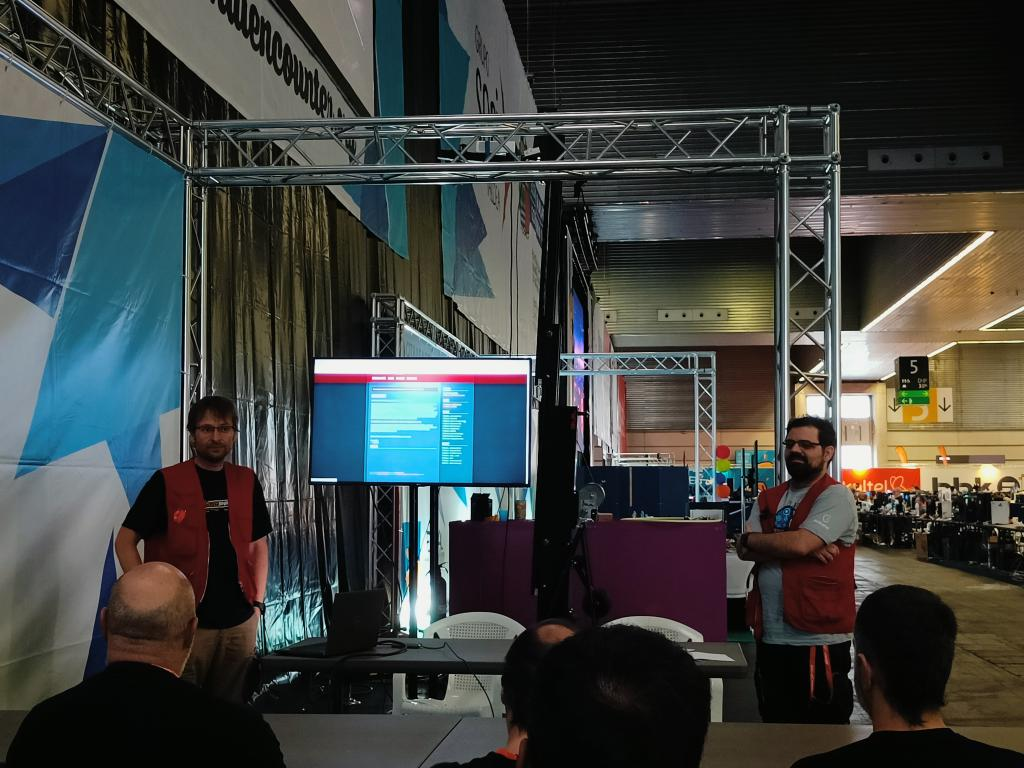
Un año más (y van unos cuantos, desde la Euskal VII) hemos vuelto a participar en el HackIt. Este año venía con novedades importantes: Marcan cedía el testigo a OntzA (Xabier Eizmendi, a la izquierda de la foto) de NavarParty, que junto a Imobilis (Juan Traverso, derecha), han organizado una excelente edición.
Había más retos y más diversidad en las pruebas, desde los muy fáciles a alguno muy complicado (sólo superado por w0pr, as usual 🙂
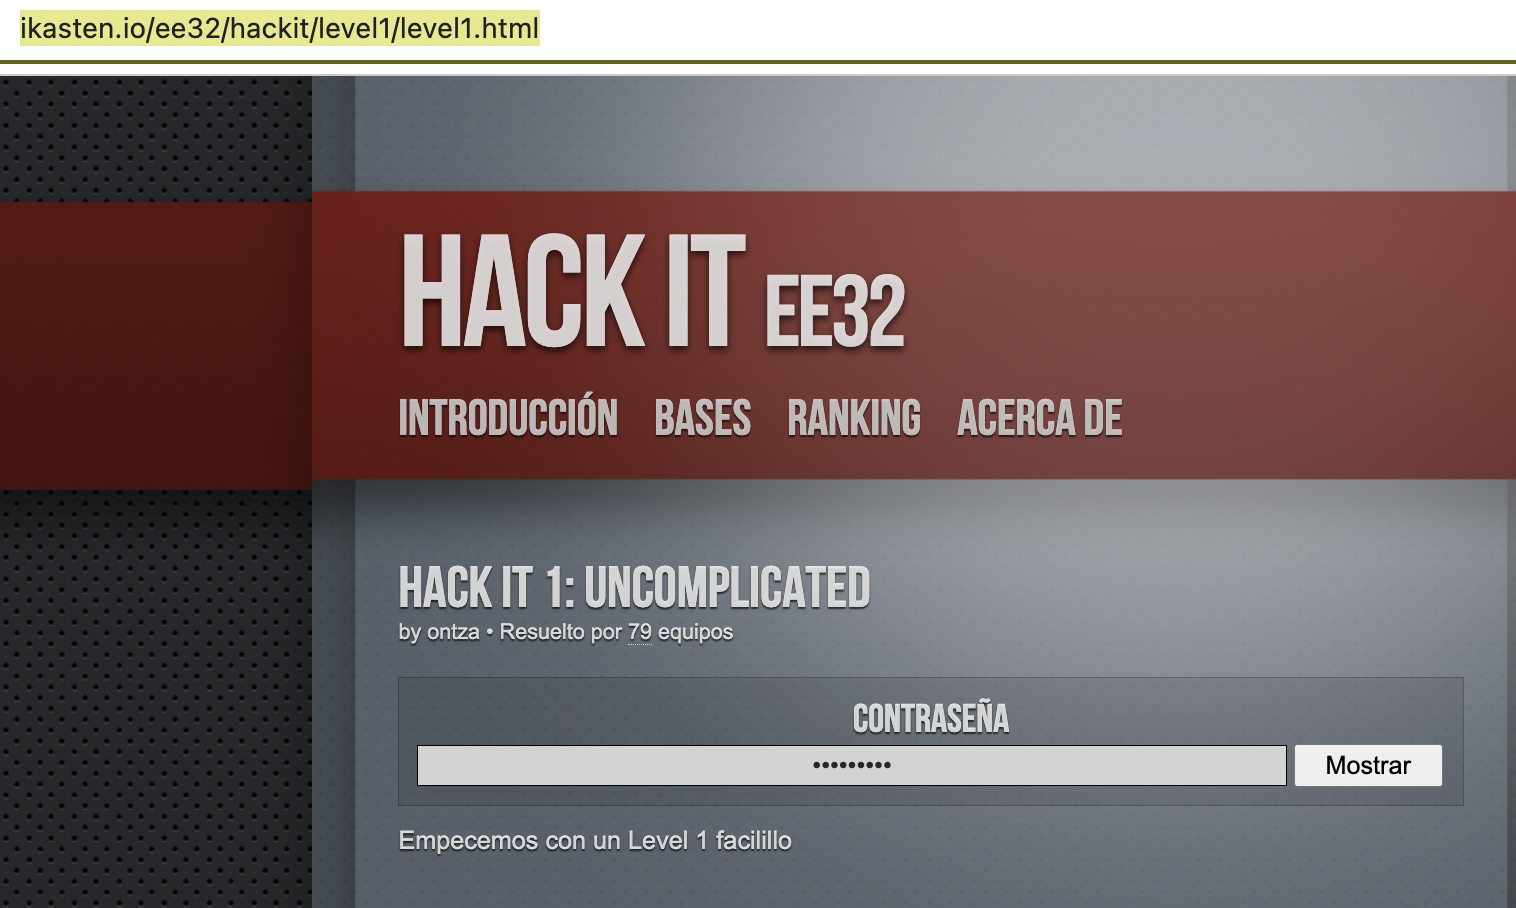
Al lío. Esta vez me encargué de hacer una copia de los retos, tanto del hackit como del solveit. Están publicados en Ikasten.io, siguiendo este esquema de URL:
El primer level del HackIt, como suele ser habitual ha sido muy sencillo. No siempre es así, por ejemplo, creo que fue el año pasado, en una prueba de WebGL, fue una excepción.
En el código fuente vemos una simple operación de XOR
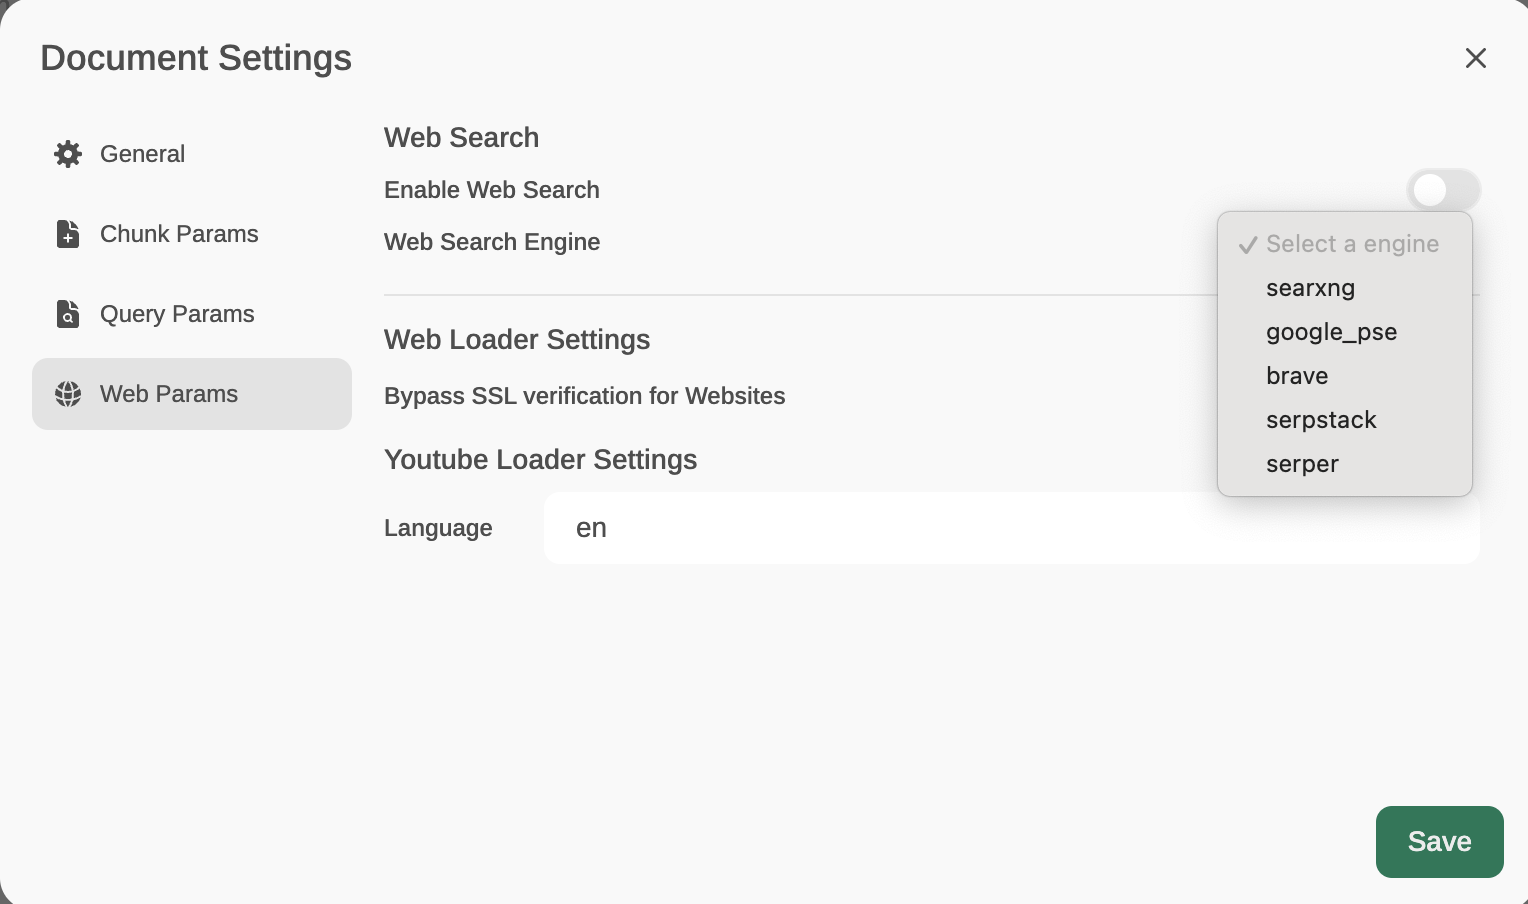
OpenWebUI allows you to search using some search providers, like searxng, google_pse, brave, serpstack and serper. You just need to open Workspace/Documents/Web Params. Then, select a web search engine:
Add the API Key for your provider:
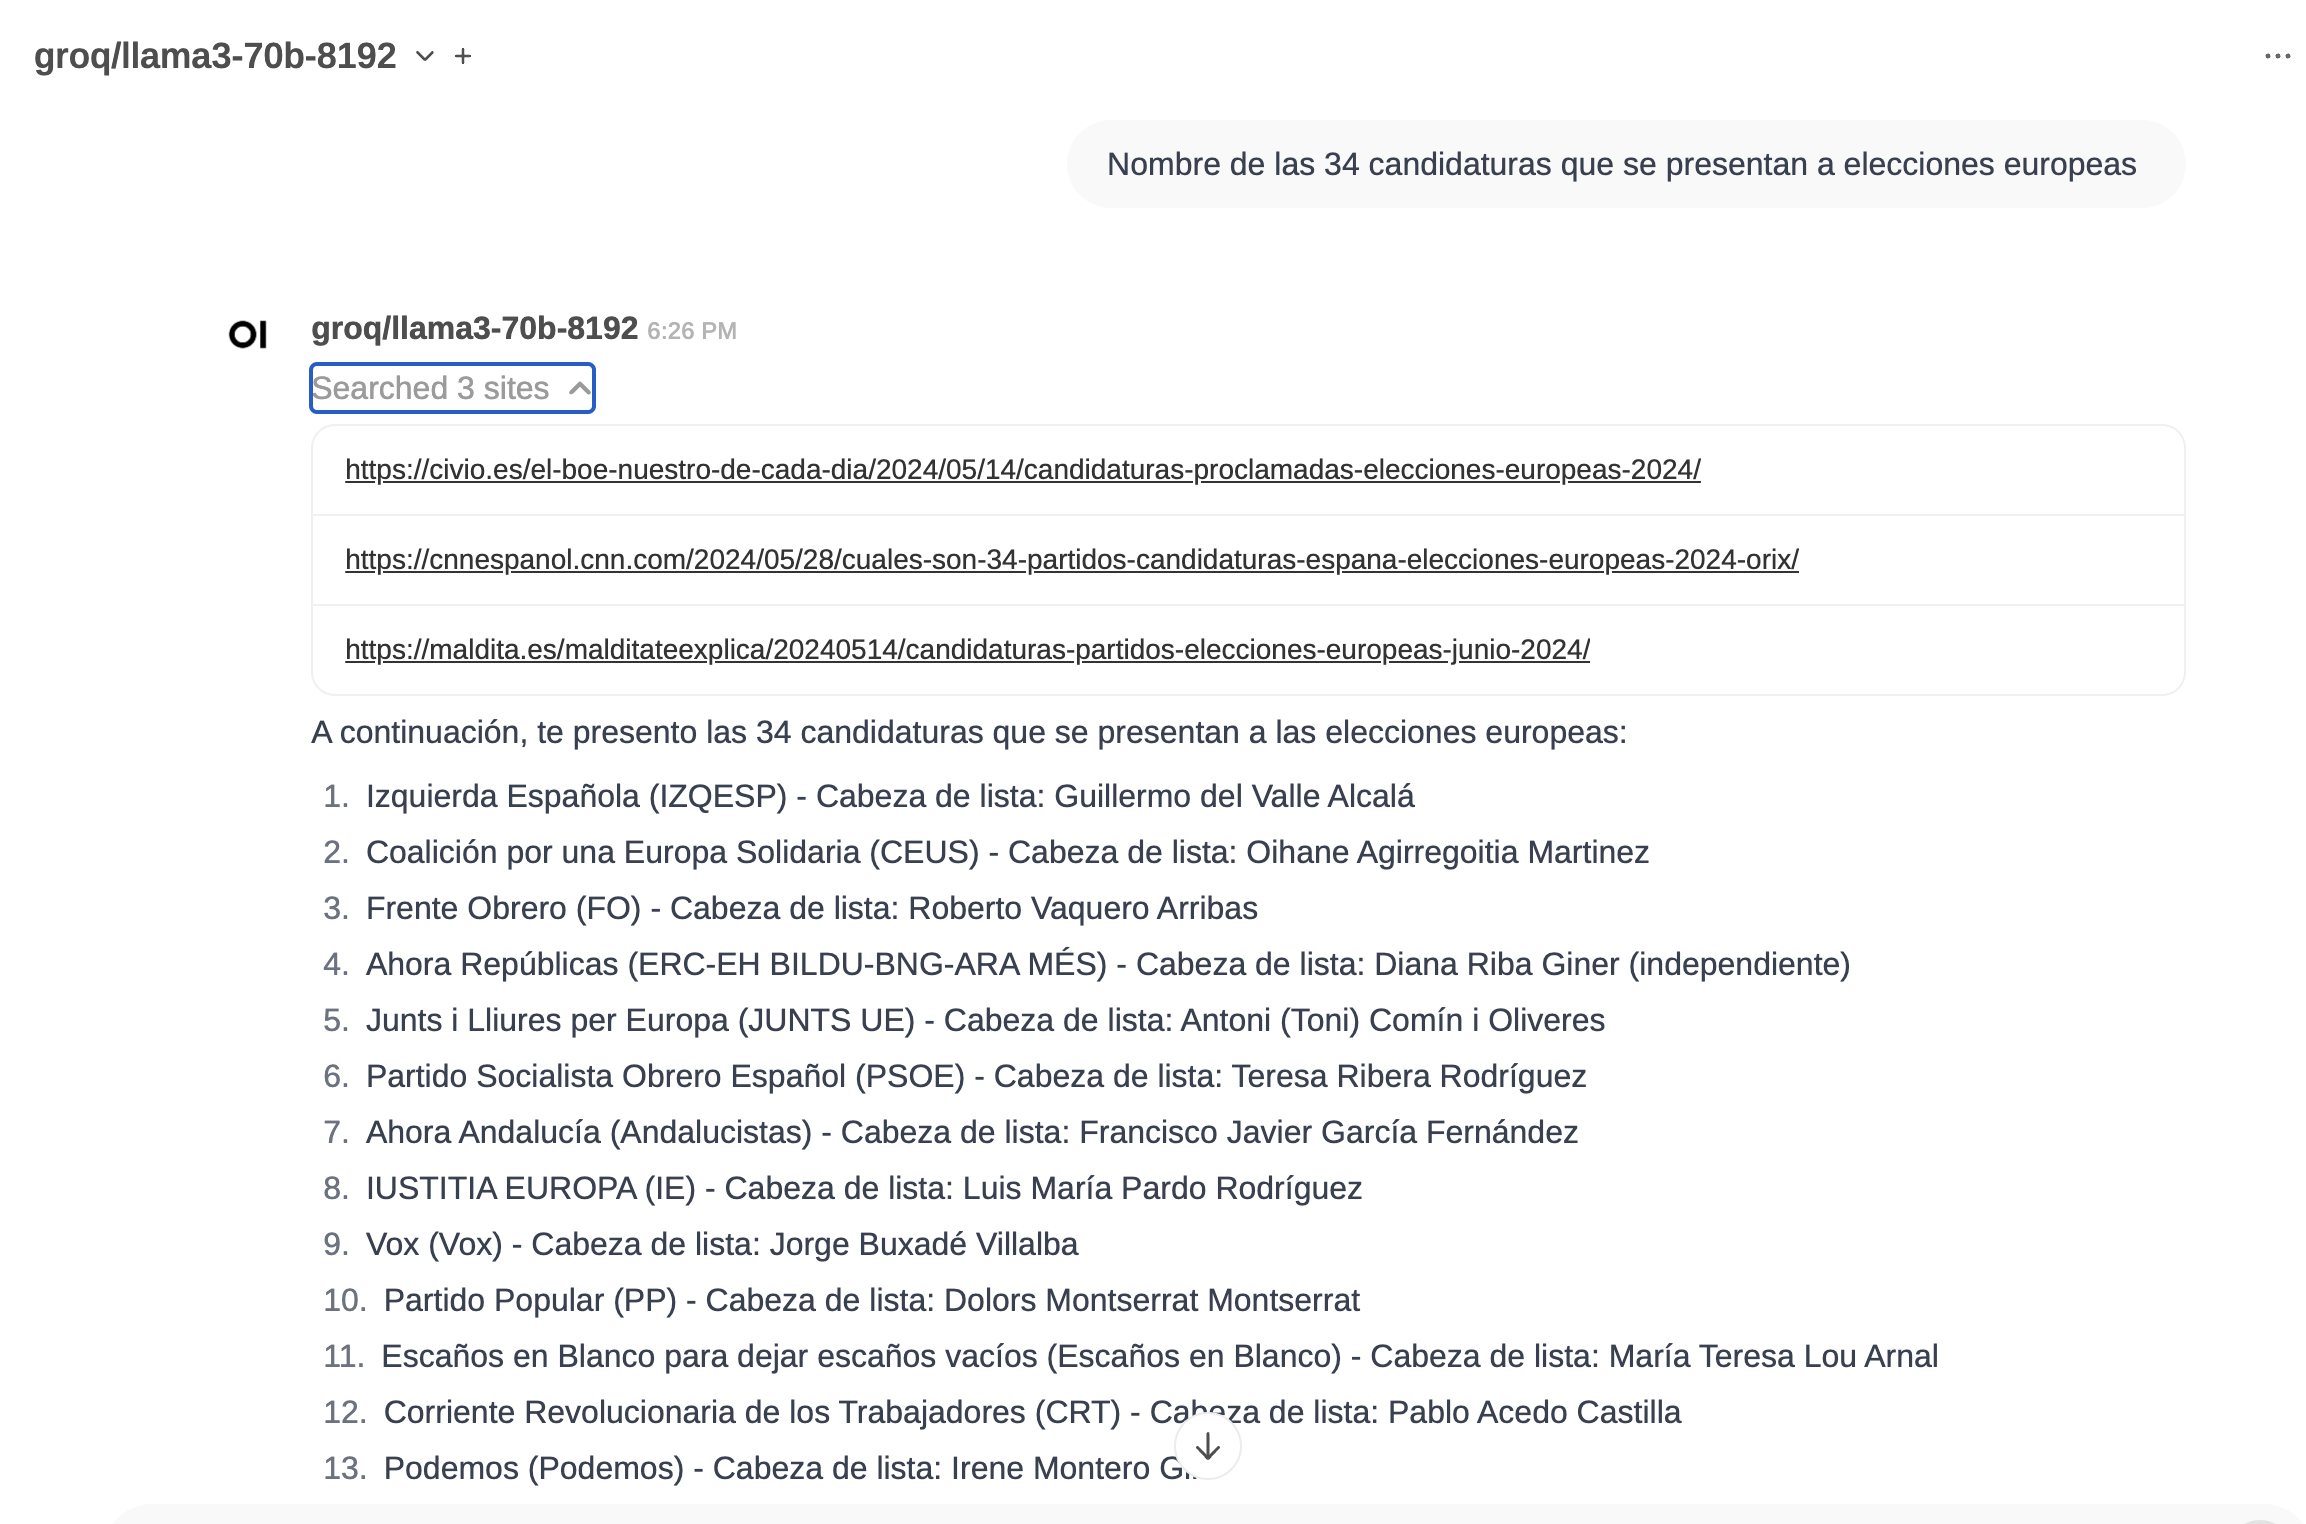
Now, whenever you want to search something online and inject the answer as context for your next prompts, enable Web Search in the prompt field:
And send your message. For instance:
List of the candidacies that are running in the European elections
(«Nombre de las candidaturas que se presentan a elecciones europeas»)
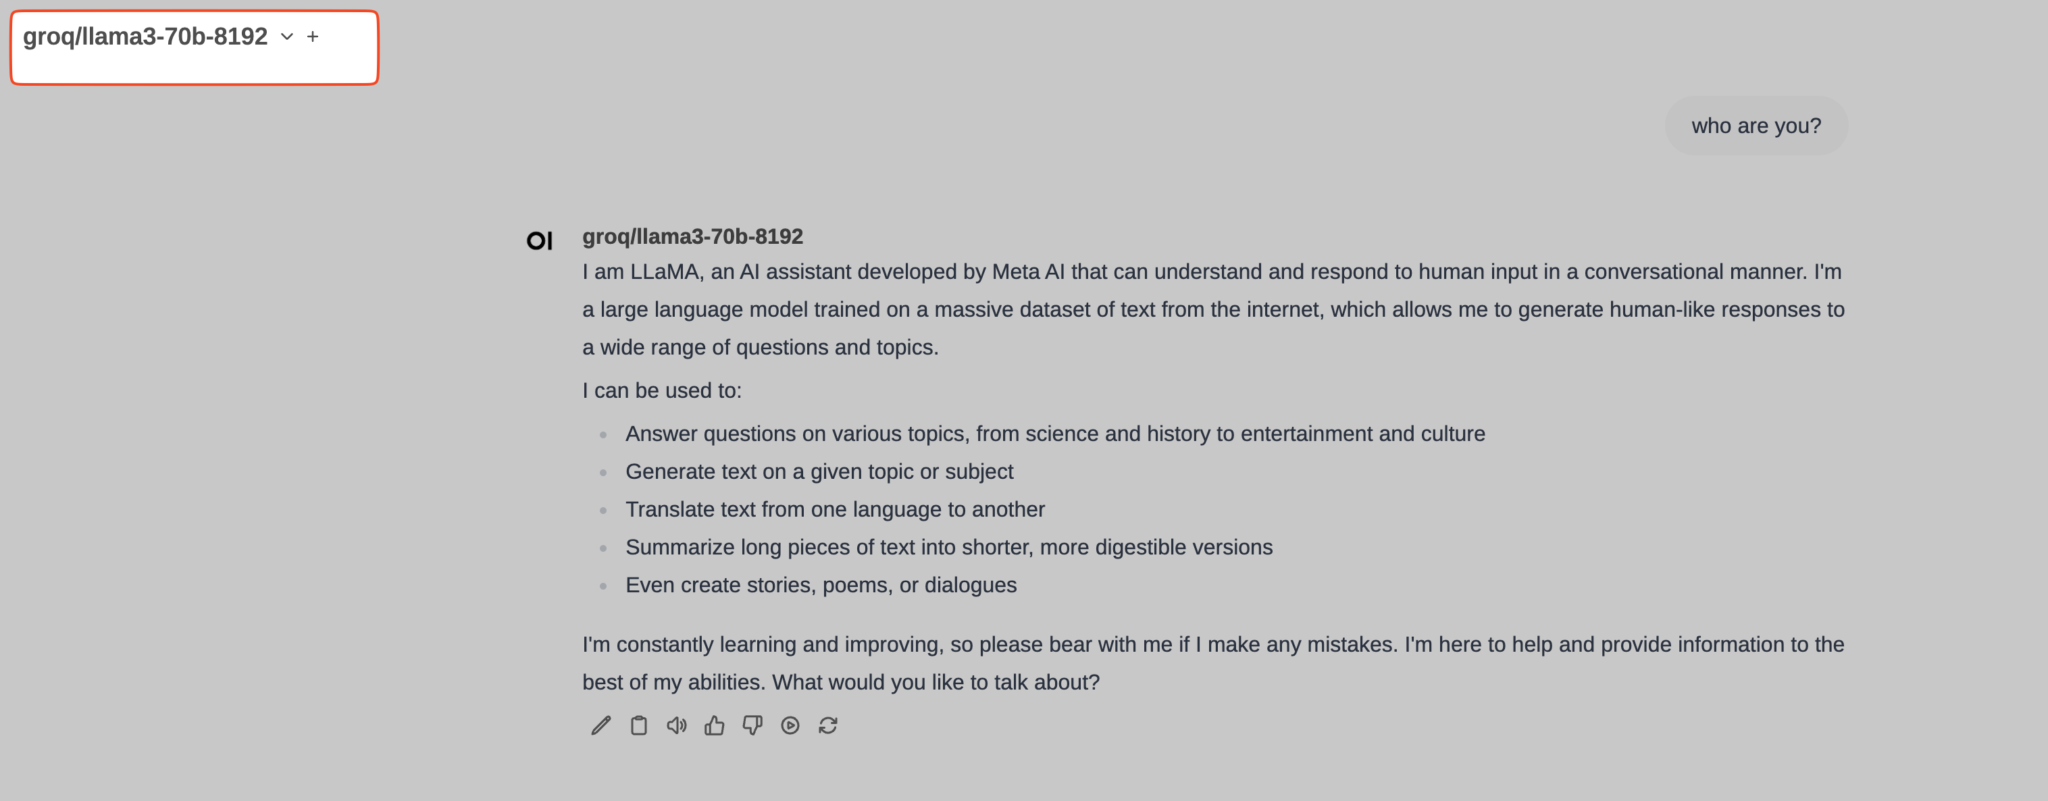
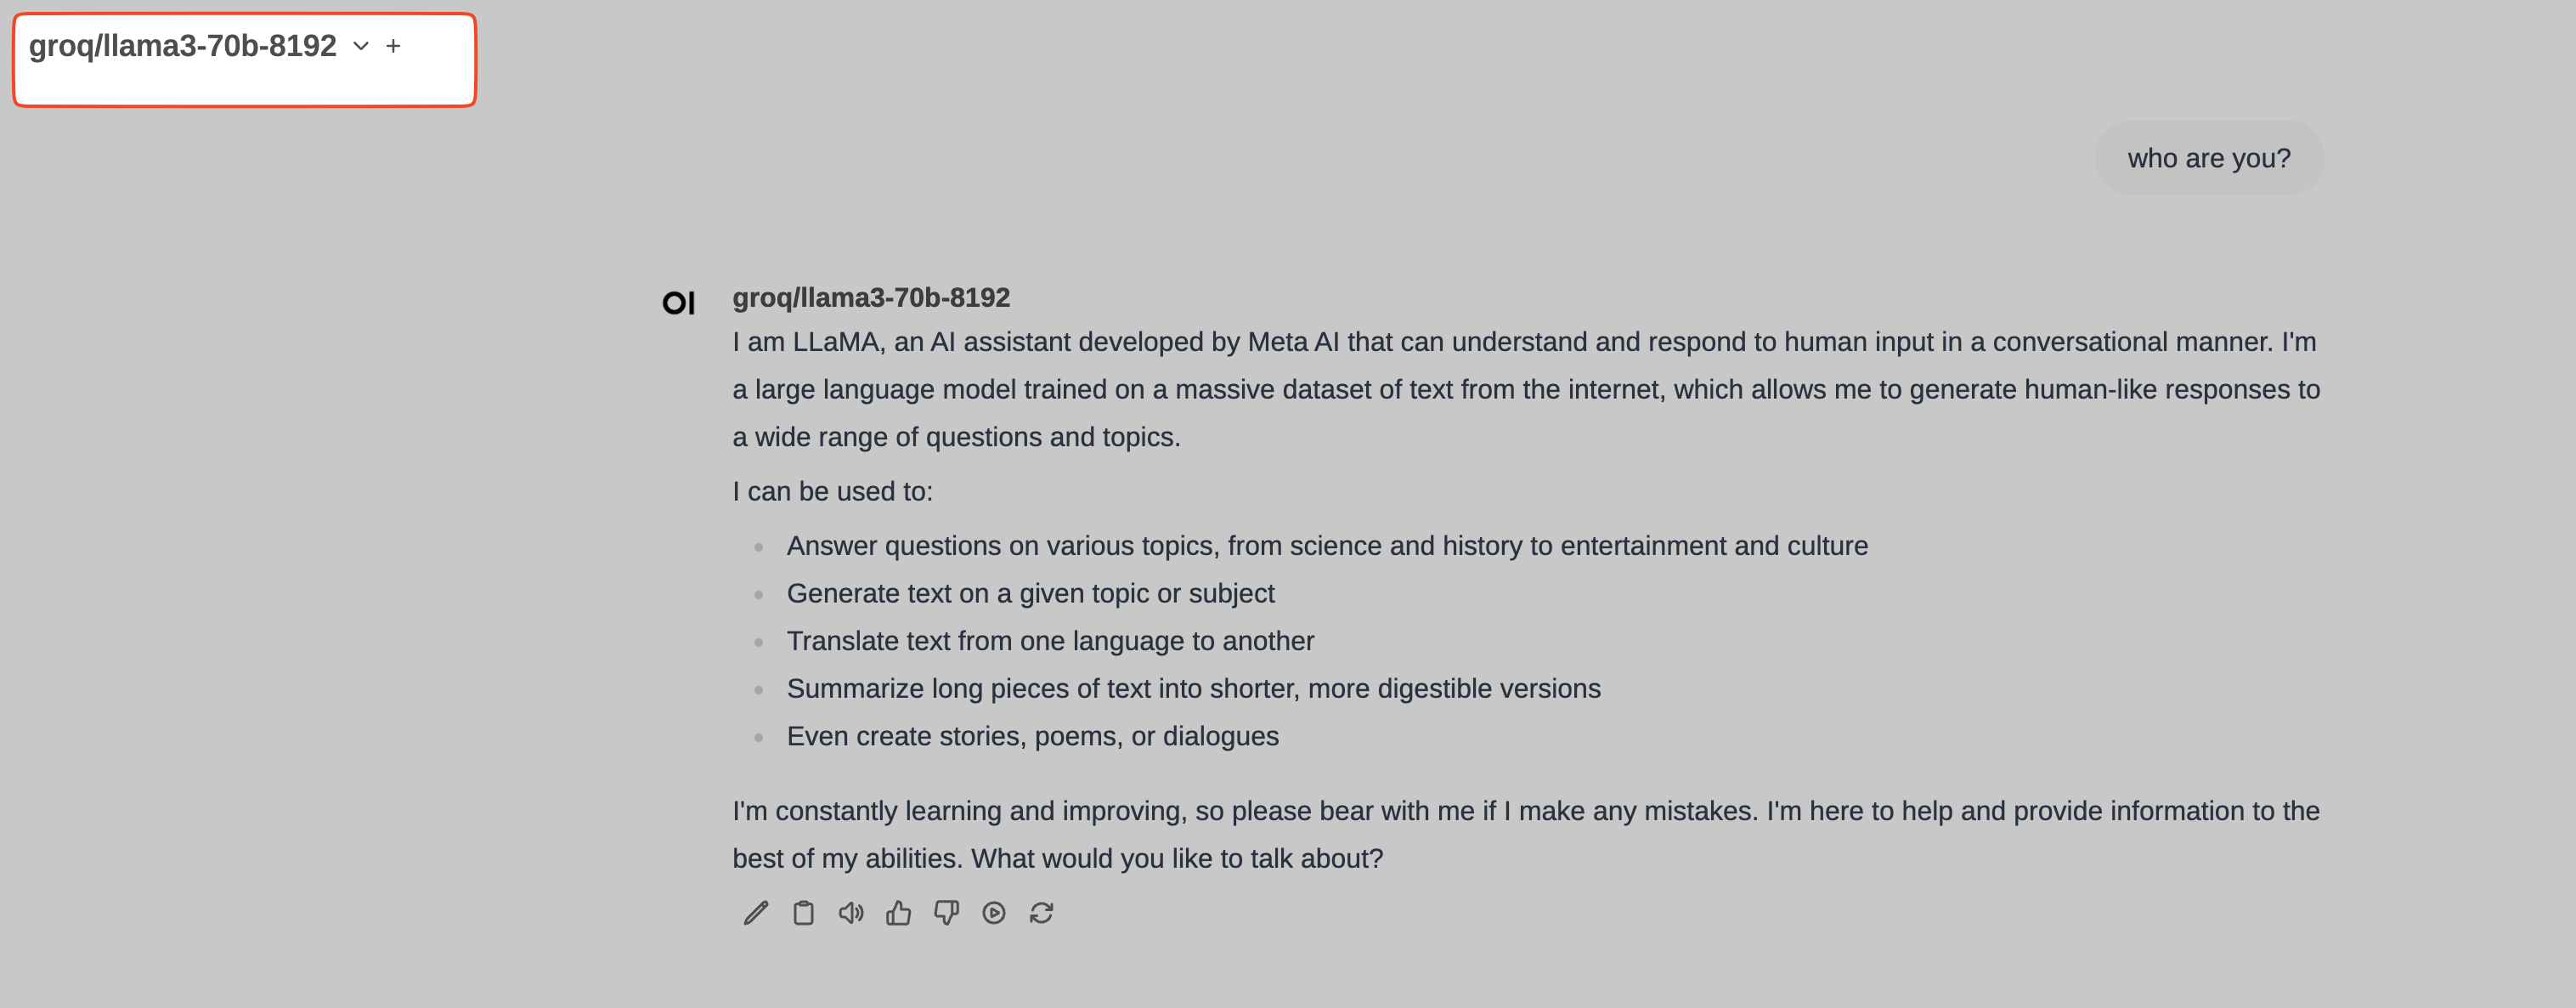
LiteLLM is a package that simplifies API calls to various LLM (Large Language Model) providers, such as Azure, Anthropic, OpenAI, Cohere, and Replicate, allowing calls to be made in a consistent format similar to the OpenAI API. Integrated with OpenWebUI, it allows this user interface to work with any LLM provider. In my case, I use OpenWebUI+LiteLLM to query groq/llama3-70b, Anthropic Claude Opus 3, GPT-4o, and Gemini-1.5-pro, among others.
The problem is that the 0.2.0 release of OpenWebUI stopped integrating a version of LiteLLM. That doesn’t mean it can’t be used; rather, LiteLLM needs to be launched separately, through a Docker container, for example.
That command launches LiteLLM listening on port 4000, using config.yaml as the configuration file. The config.yaml file might look something like this (don’t forget to input your API Keys):
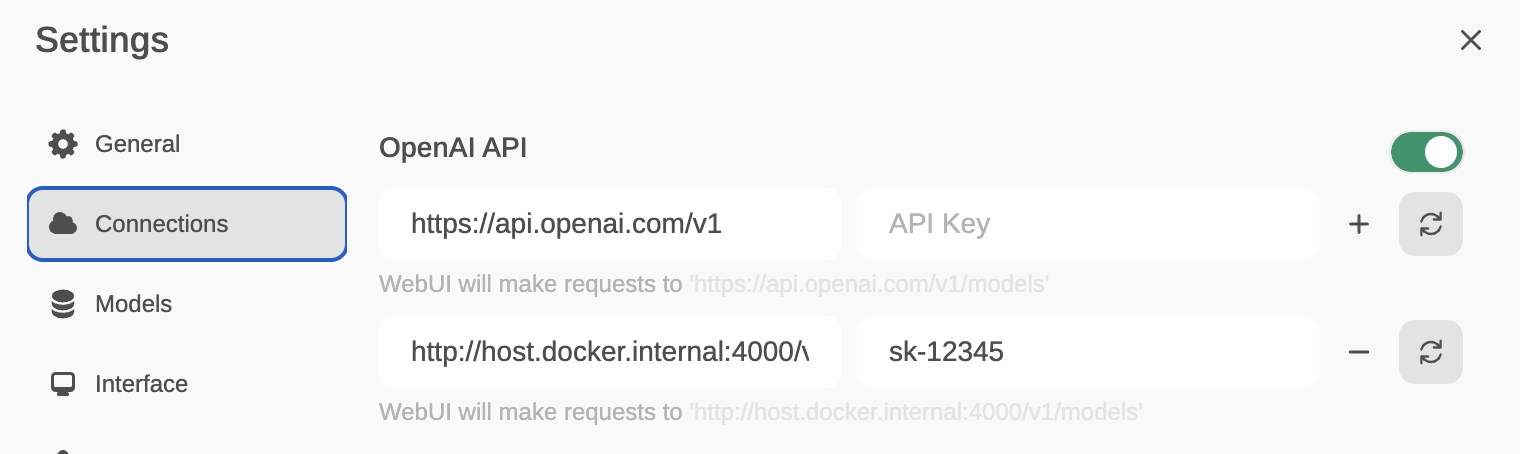
Now, from OpenWebUI, go to Settings/Connections and enter http://host.docker.internal:4000/v1 in the host field and sk-12345 (or the key you set for LiteLLM when you launched it via Docker) in the API-Key field.
LiteLLM es un paquete que simplifica las llamadas a API de varios proveedores de LLM (Large Language Model), como Azure, Anthropic, OpenAI, Cohere y Replicate, permitiendo realizar llamadas en un formato consistente similar al de la API de OpenAI. Integrado con OpenWebUI permite usar este interfaz de usuario contra cualquier proveedor LLM. En mi caso, uso OpenWebUI+LiteLLM para hacer consultas a groq/llama3-70b, Anthropic Claude Opus 3, GPT-4o y Gemini-1.5-pro, entre otros.
El problema es que la release 0.2.0 de OpenWebUI dejó de integrar una versión de LiteLLM. Eso no quiere decir que no se pueda usar, sino que hay que lanzar LiteLLM aparte, a través de un container Docker, por ejemplo.
Esa orden lanza LiteLLM a la escucha en el puerto 4000, usando config.yaml como fichero de configuración. El fichero config.yaml puede ser algo como este (no te olvides de introducir tus API Keys):
Ahora, desde OpenWebUI, entramos en Settings/Connections e introducimos http://host.docker.internal:4000/v1 en el campo host y sk-12345 (o la clave que hayas puesto a LiteLLM cuando lo lanzaste vía docker) en el API-Key.
Pipelines is defined as a UI-Agnostic OpenAI API Plugin Framework. In essence, it allows injecting plugins that intercept user prompts before they are sent to the final LLM, process them, and then send the processed prompt to the LLM. What can this be used for? For example, to execute functions based on what a prompt requires before sending it to the LLM (simple example: what time is it? What’s the weather like in Donostia?), to consult external databases and inject responses as prompt context (RAG), to execute code…
Pipelines is agnostic to the UI client, as long as the client supports the OpenAI API. Being a creation of the OpenWebUI team, the first UI to support Pipelines is, of course, OpenWebUI.
There are two types of pipelines: filters and pipes.
Filters: Regardless of the model you choose (although you can determine for which models you want to apply it, by default it is for all), the user’s prompt – Form Data – will go through the filter (entering through an inlet function), will be processed, and will exit the filter already processed (via an outlet function). Or, it could be that it doesn’t need to be processed, in which case the model will respond as usual.
Pipeline filters are only compatible with Open WebUI. You can think of a filter pipeline as a middleware that can be used to edit the form data before it is sent to the OpenAI API.
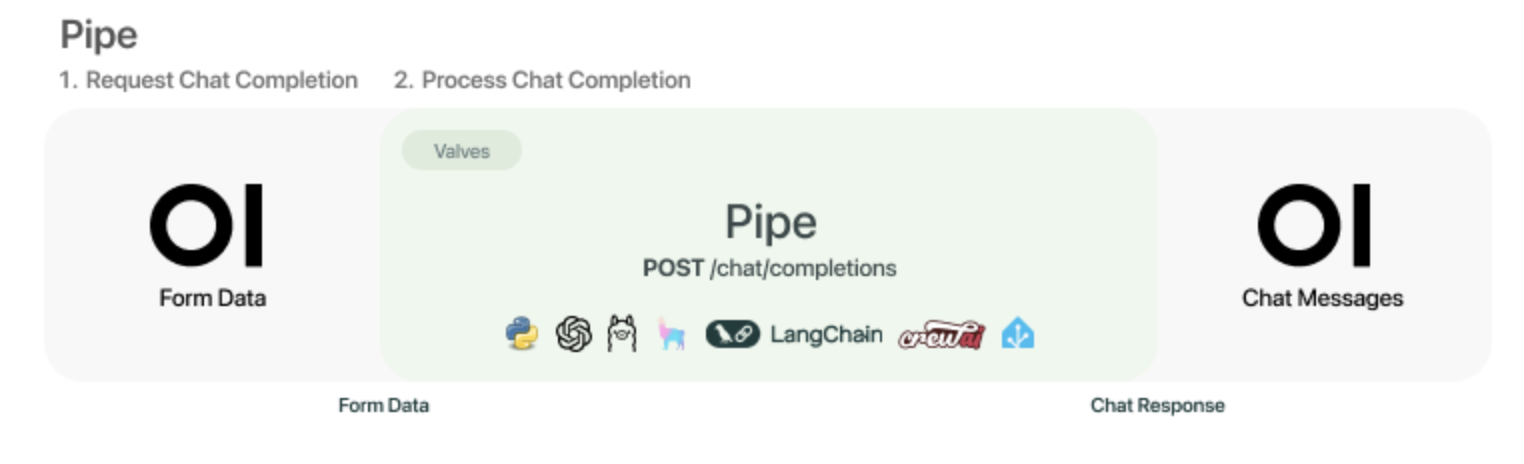
Pipes: The user must choose the pipe they want to apply to their prompt – Form Data. This will go through the pipe and be returned as a response (context) that can then be used for other questions. For example, we can select Wikipedia as a pipe, ask it to inject the first paragraphs of a Wikipedia entry into the context, and then continue asking questions.
Let’s see how to get Pipelines up and running with OpenWebUI 0.2.2.
Testing Pipelines
I will assume that you already have OpenWebUI 0.2.2 running and all you need to know is how to launch and use Pipelines. The easiest way to do this is via Docker. We launch Pipelines like this:
We can see the logs it leaves us with this command:
$ docker logs -f pipelines
Connecting OpenWebUI with Pipelines
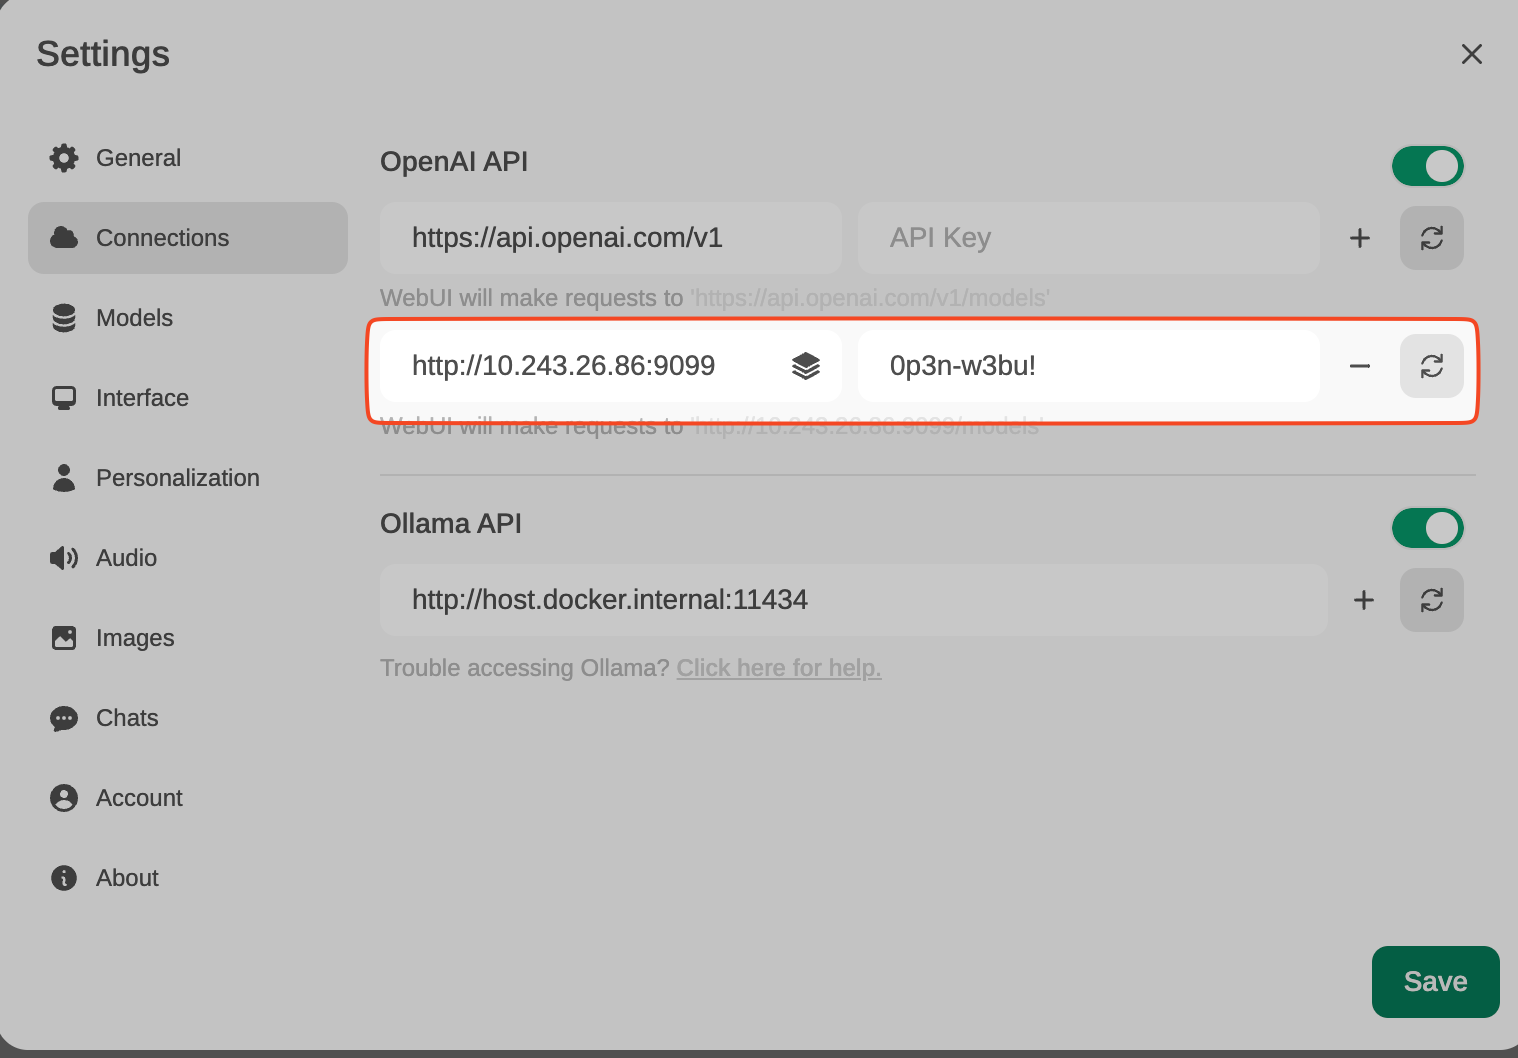
From Settings, create and save a new connection of type OpenAI API, with these details:
URL: http://YOUR_IP_ADDRESS:9099 (the previous docker has been launched here). Pass: 0p3n-w3bu!
Adding a Function Calling Pipeline
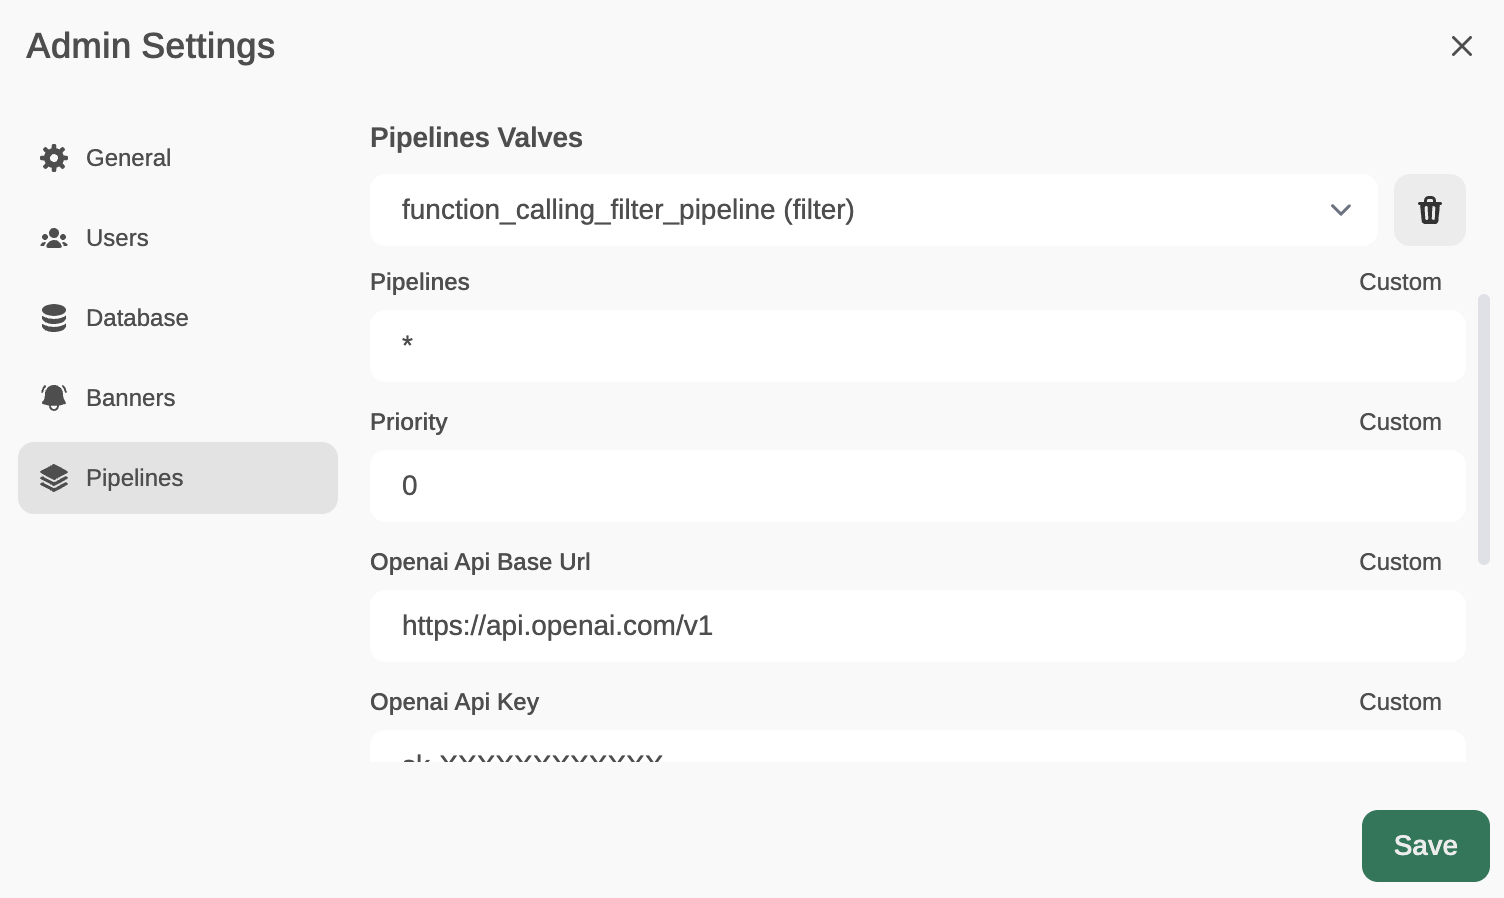
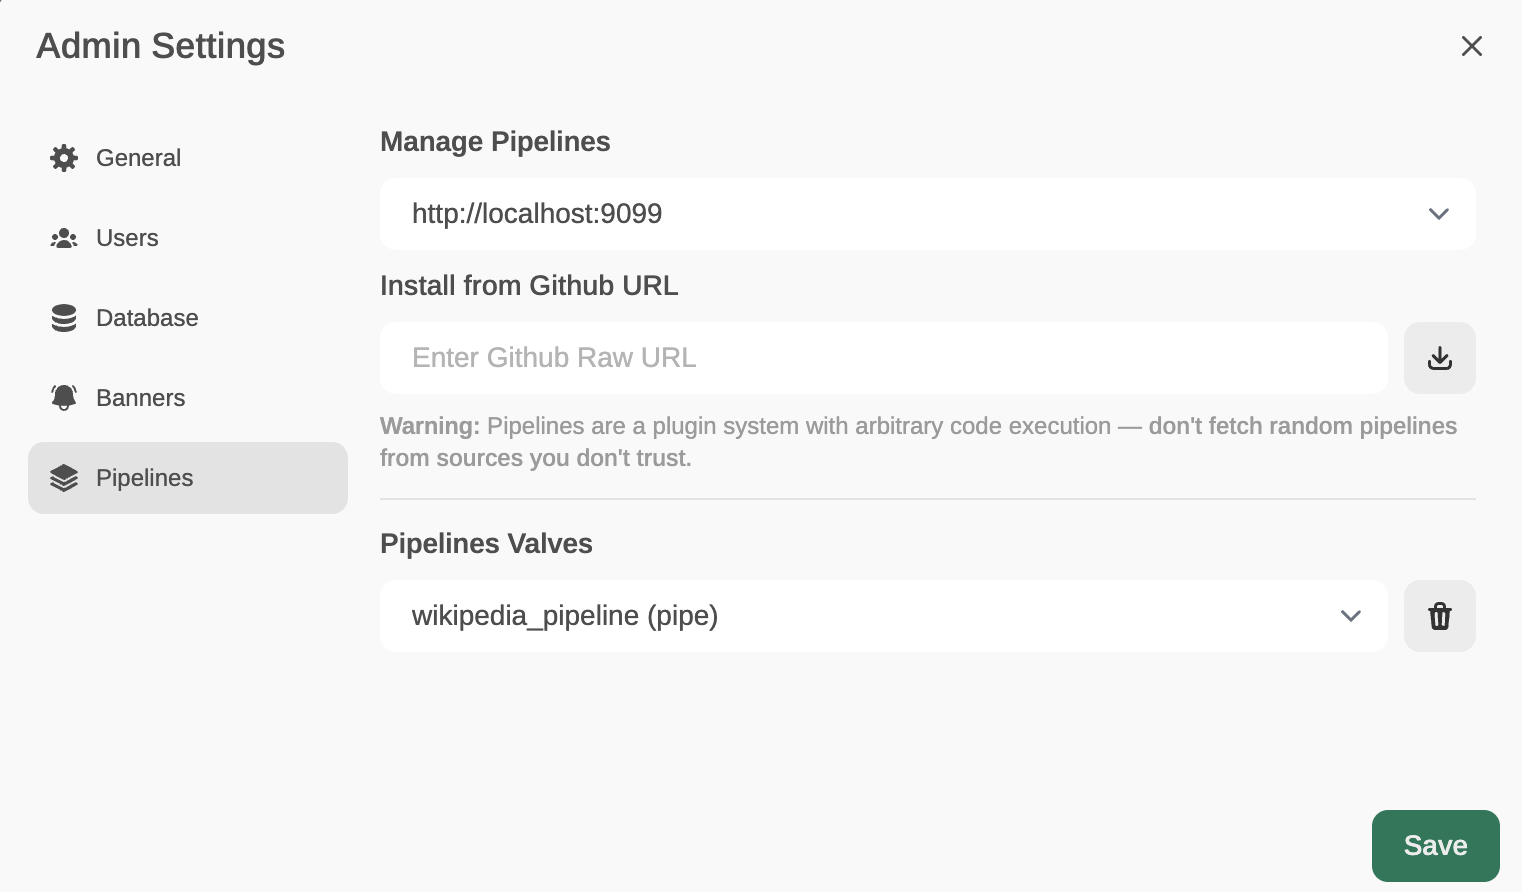
Now, from Admin Settings / Pipelines, we will add our first filter: Function Calling. We will do this by indicating that Pipelines is listening on http://localhost:9099 (where we configured it before) and that we want to install the following Function Calling filter from GitHub: https://github.com/open-webui/pipelines/blob/main/examples/function_calling/function_calling_filter_pipeline.py
We can specify which models the pipeline affects (by default, all *), the priority (it is possible to chain pipes, the one with a lower number will be the highest priority) and in this case, also the OpenAI API Base URL, its API key and the model to use. For instance, GPT-3.5-Turbo. This LLM will be used to decide whether the user’s prompt needs to be answered through a function or not, and if so, the model will decide which function to use (something like function calling, but through prompt-responses with normal GPT-3.5, internally I’ve seen that it doesn’t use function calling).
In the template, you can specify the prompt that GPT 3.5-Turbo will receive to decide whether it is necessary to execute a function (and which one) or lets the prompt pass through without needing to execute any function (in which case it would respond with an empty function name)
The last parameter, OpenWeatherMap API key will be used to respond (if necessary) to the user’s prompt that is requesting to know the weather in a location.
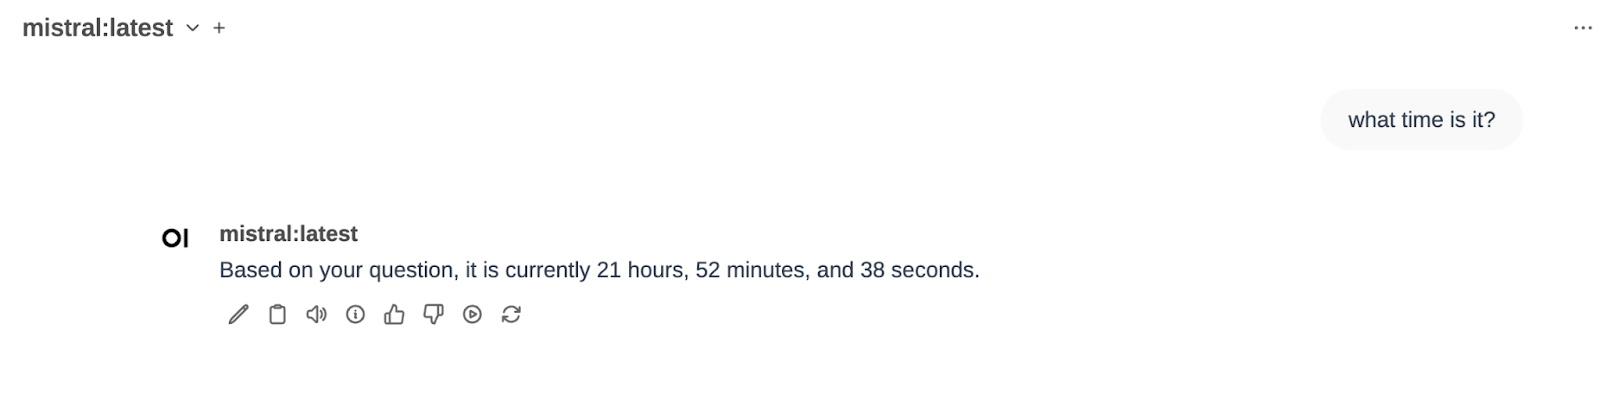
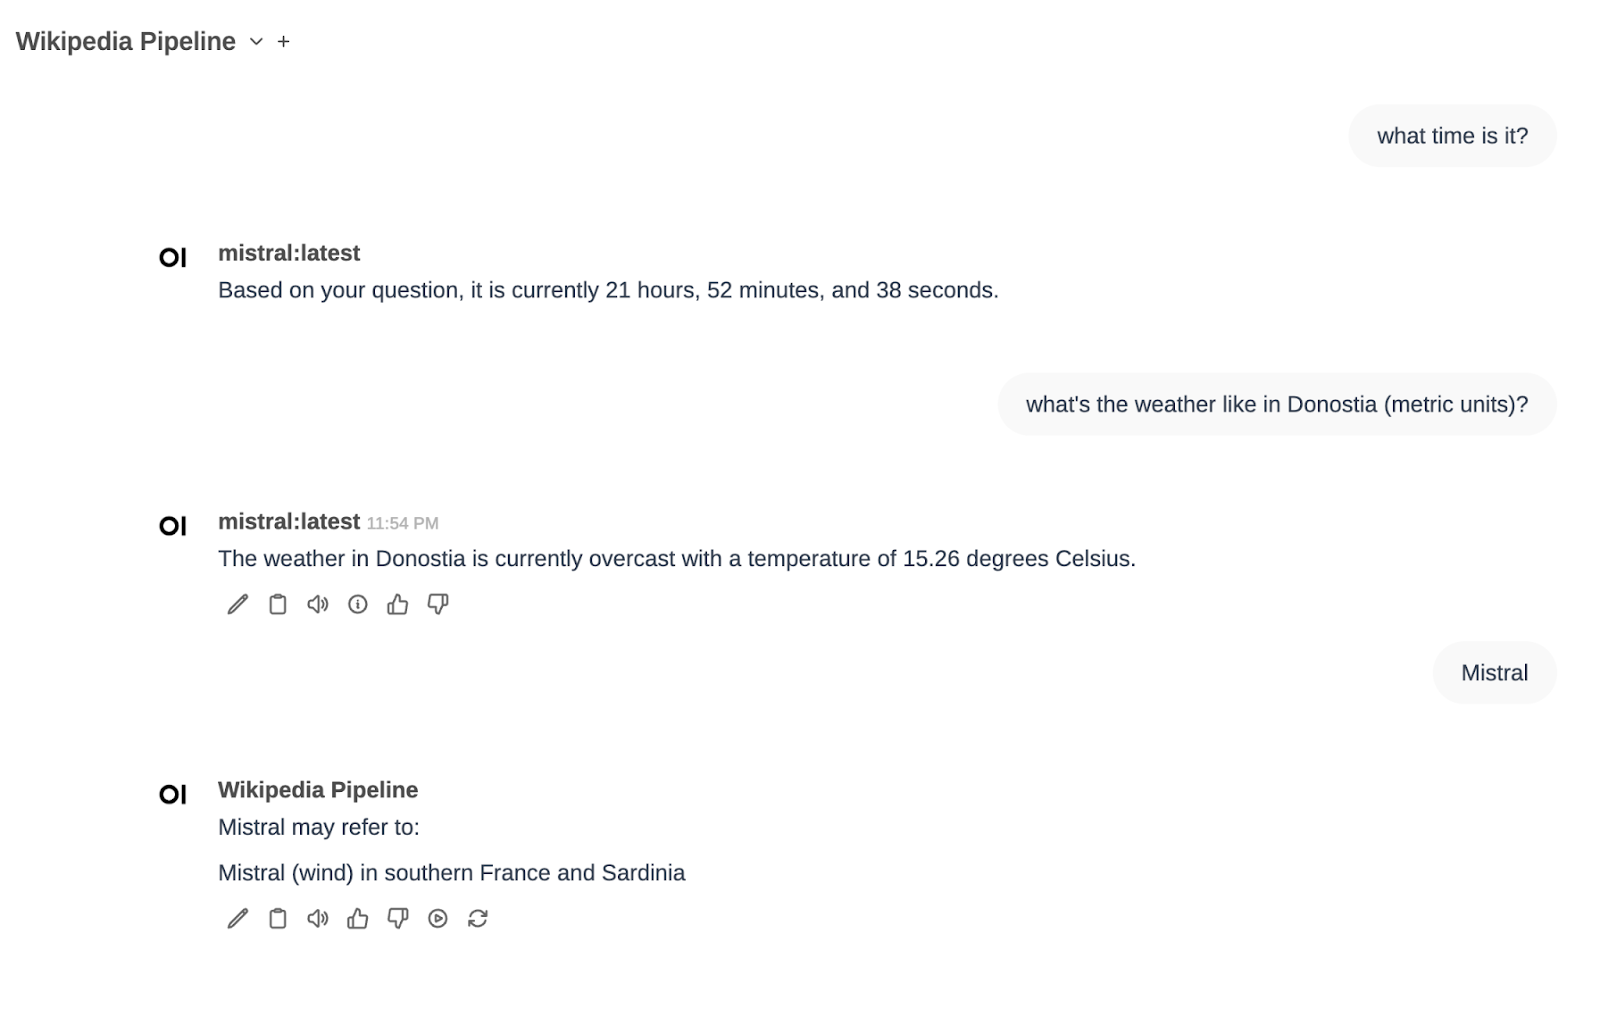
Let’s try it out. We choose a model in OpenWebUI (in my case, mistral:latest) and ask for the current time (I did it last night).
It works!
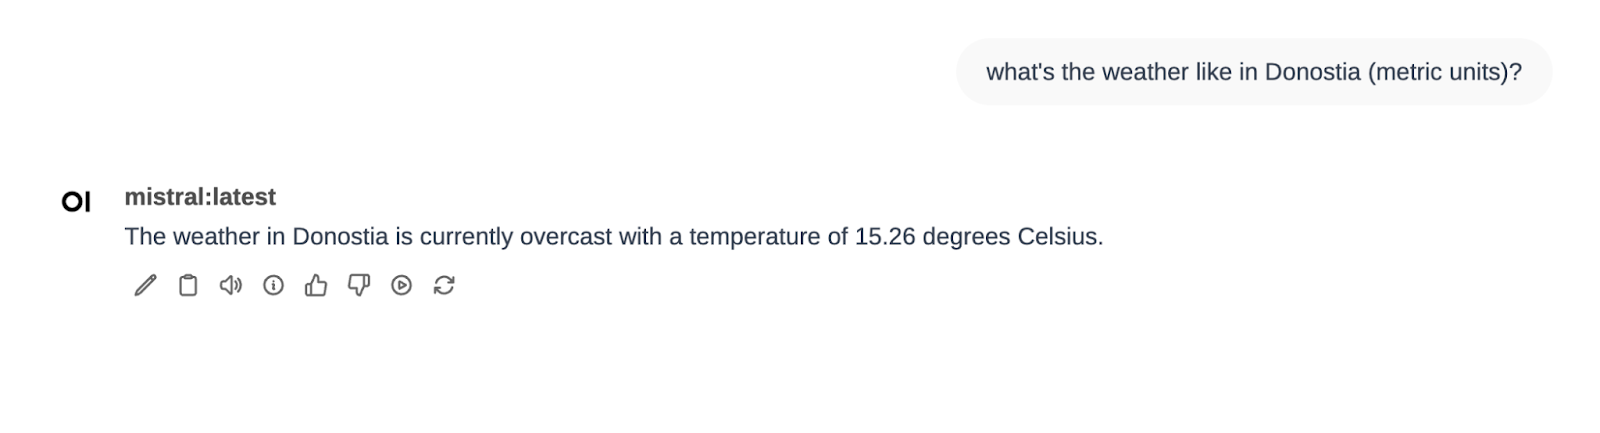
In the same Function Calling filter, we also have two other tools defined: Weather and Calculator. Let’s try the weather one…
Perfect!
Adding a Pipe: Wikipedia Pipe
As mentioned, Pipes can also be used instead of Filters. An example would be the use of Wikipedia. As before, from the Admin settings, we add this pipeline: https://github.com/open-webui/pipelines/blob/main/examples/pipelines/integrations/wikipedia_pipeline.py
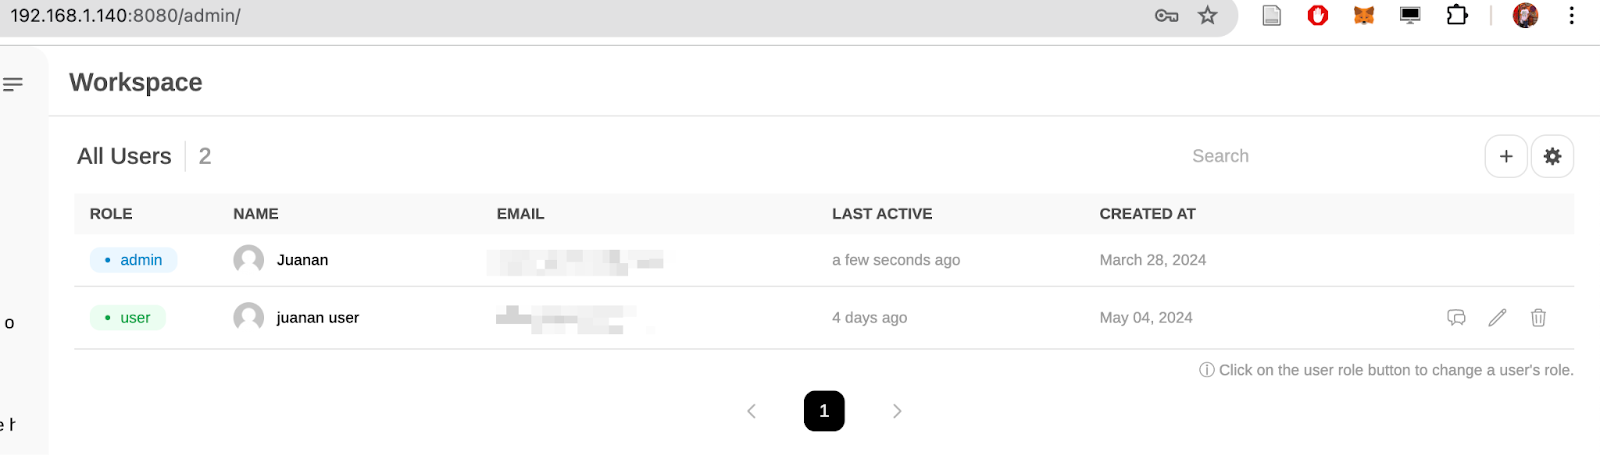
Click on the small gear icon (top-right corner) for displaying Admin Settings:
We will now see that we have a new model available in OpenWebUI:
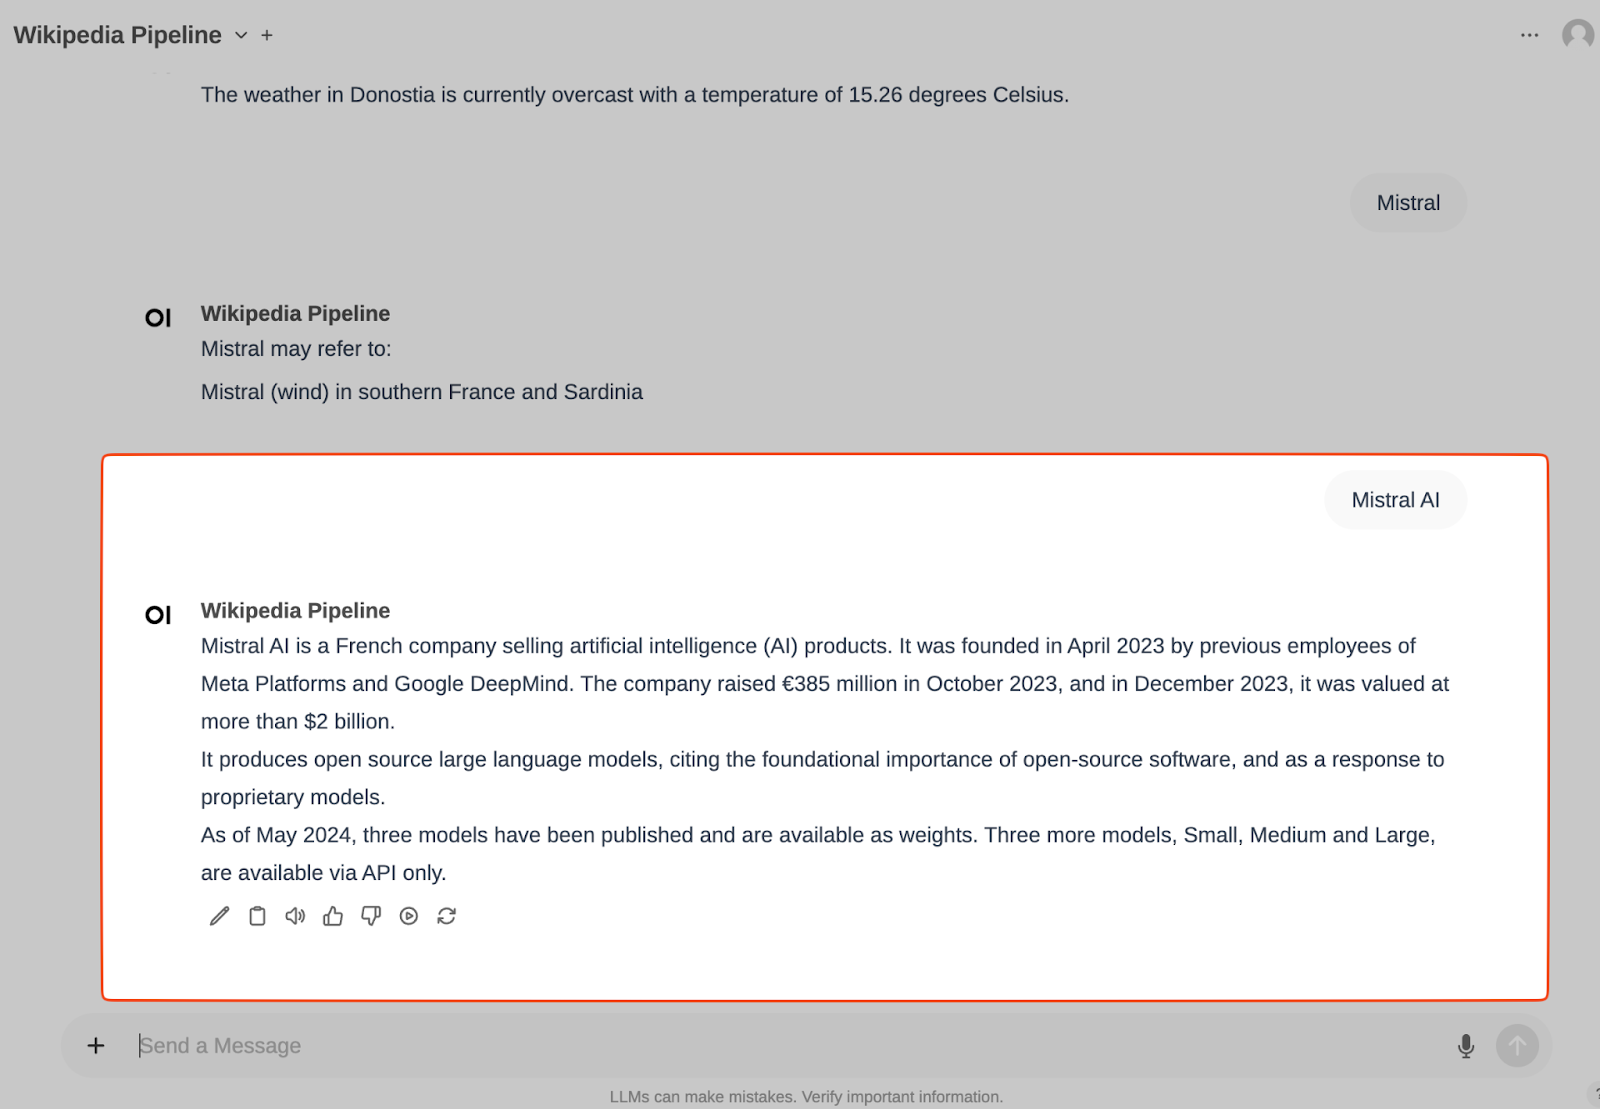
Let’s try it. We select the Wikipedia Pipeline model and search for ‘Mistral AI’:
It works perfectly.
And one last test with everything at once:
I have chosen mistral as the model, and I have asked for the time («What time is it»). The function calling pipeline has determined that it is something that can be answered by executing the function of getting the system time and has returned the current time to me.
After that I asked for the weather in Donostia and it told me the temperature. Finally I selected the Wikipedia Pipe and asked about Mistral. There I saw that I wasn’t explicit enough (Mistral can be several things…)
In a second attempt, I requested information about Mistral AI. This time I found the information I wanted, as we saw before.