Cómo funciona la firma digital de actas con Izenpe

Desde hace muuucho tiempo he querido saber cómo funciona internamente la firma digital de actas de mi universidad (EHU). Los que me conocéis ya sabéis que cuando digo «internamente» es realmente a nivel de disección. ¿Me acompañas en el viaje? Vamos allá….

actas1

Las actas de exámenes, trabajos fin de grado, etc. se firman a través de GAUR. Te identificas como profesor, entras en la sección de Exámenes / Proceso de Firma y ahí tendrás los PDF -que previamente has calificado- listos para firmar.

Cuando pulsas en Firmar uno de los PDF se ejecutará la siguiente función JS: onclick=»a_firmar(id_pdf,id_firmante,id_version); Esos valores han sido calculados para esta sesión del usuario (del profesor). La función a_firmar llama a su vez a abrir_dialog() que lanza una URL https://gestion.ehu.es/idazki/index?query_string siguiendo este patrón para los parámetros de la query_string:

Application ID: 3 Language: CAS (Castilian/Spanish) Action: 6 Session ID: 939c91xxxxxxxxxxxxxxxxxxxxxxxxxx3837694 PDF ID: YYYYYYYY Signer ID: ZZZZZZZZZ Document number: AAAAAAA Version: 1 Timestamp: 8,98107480305963801233649306596140178816

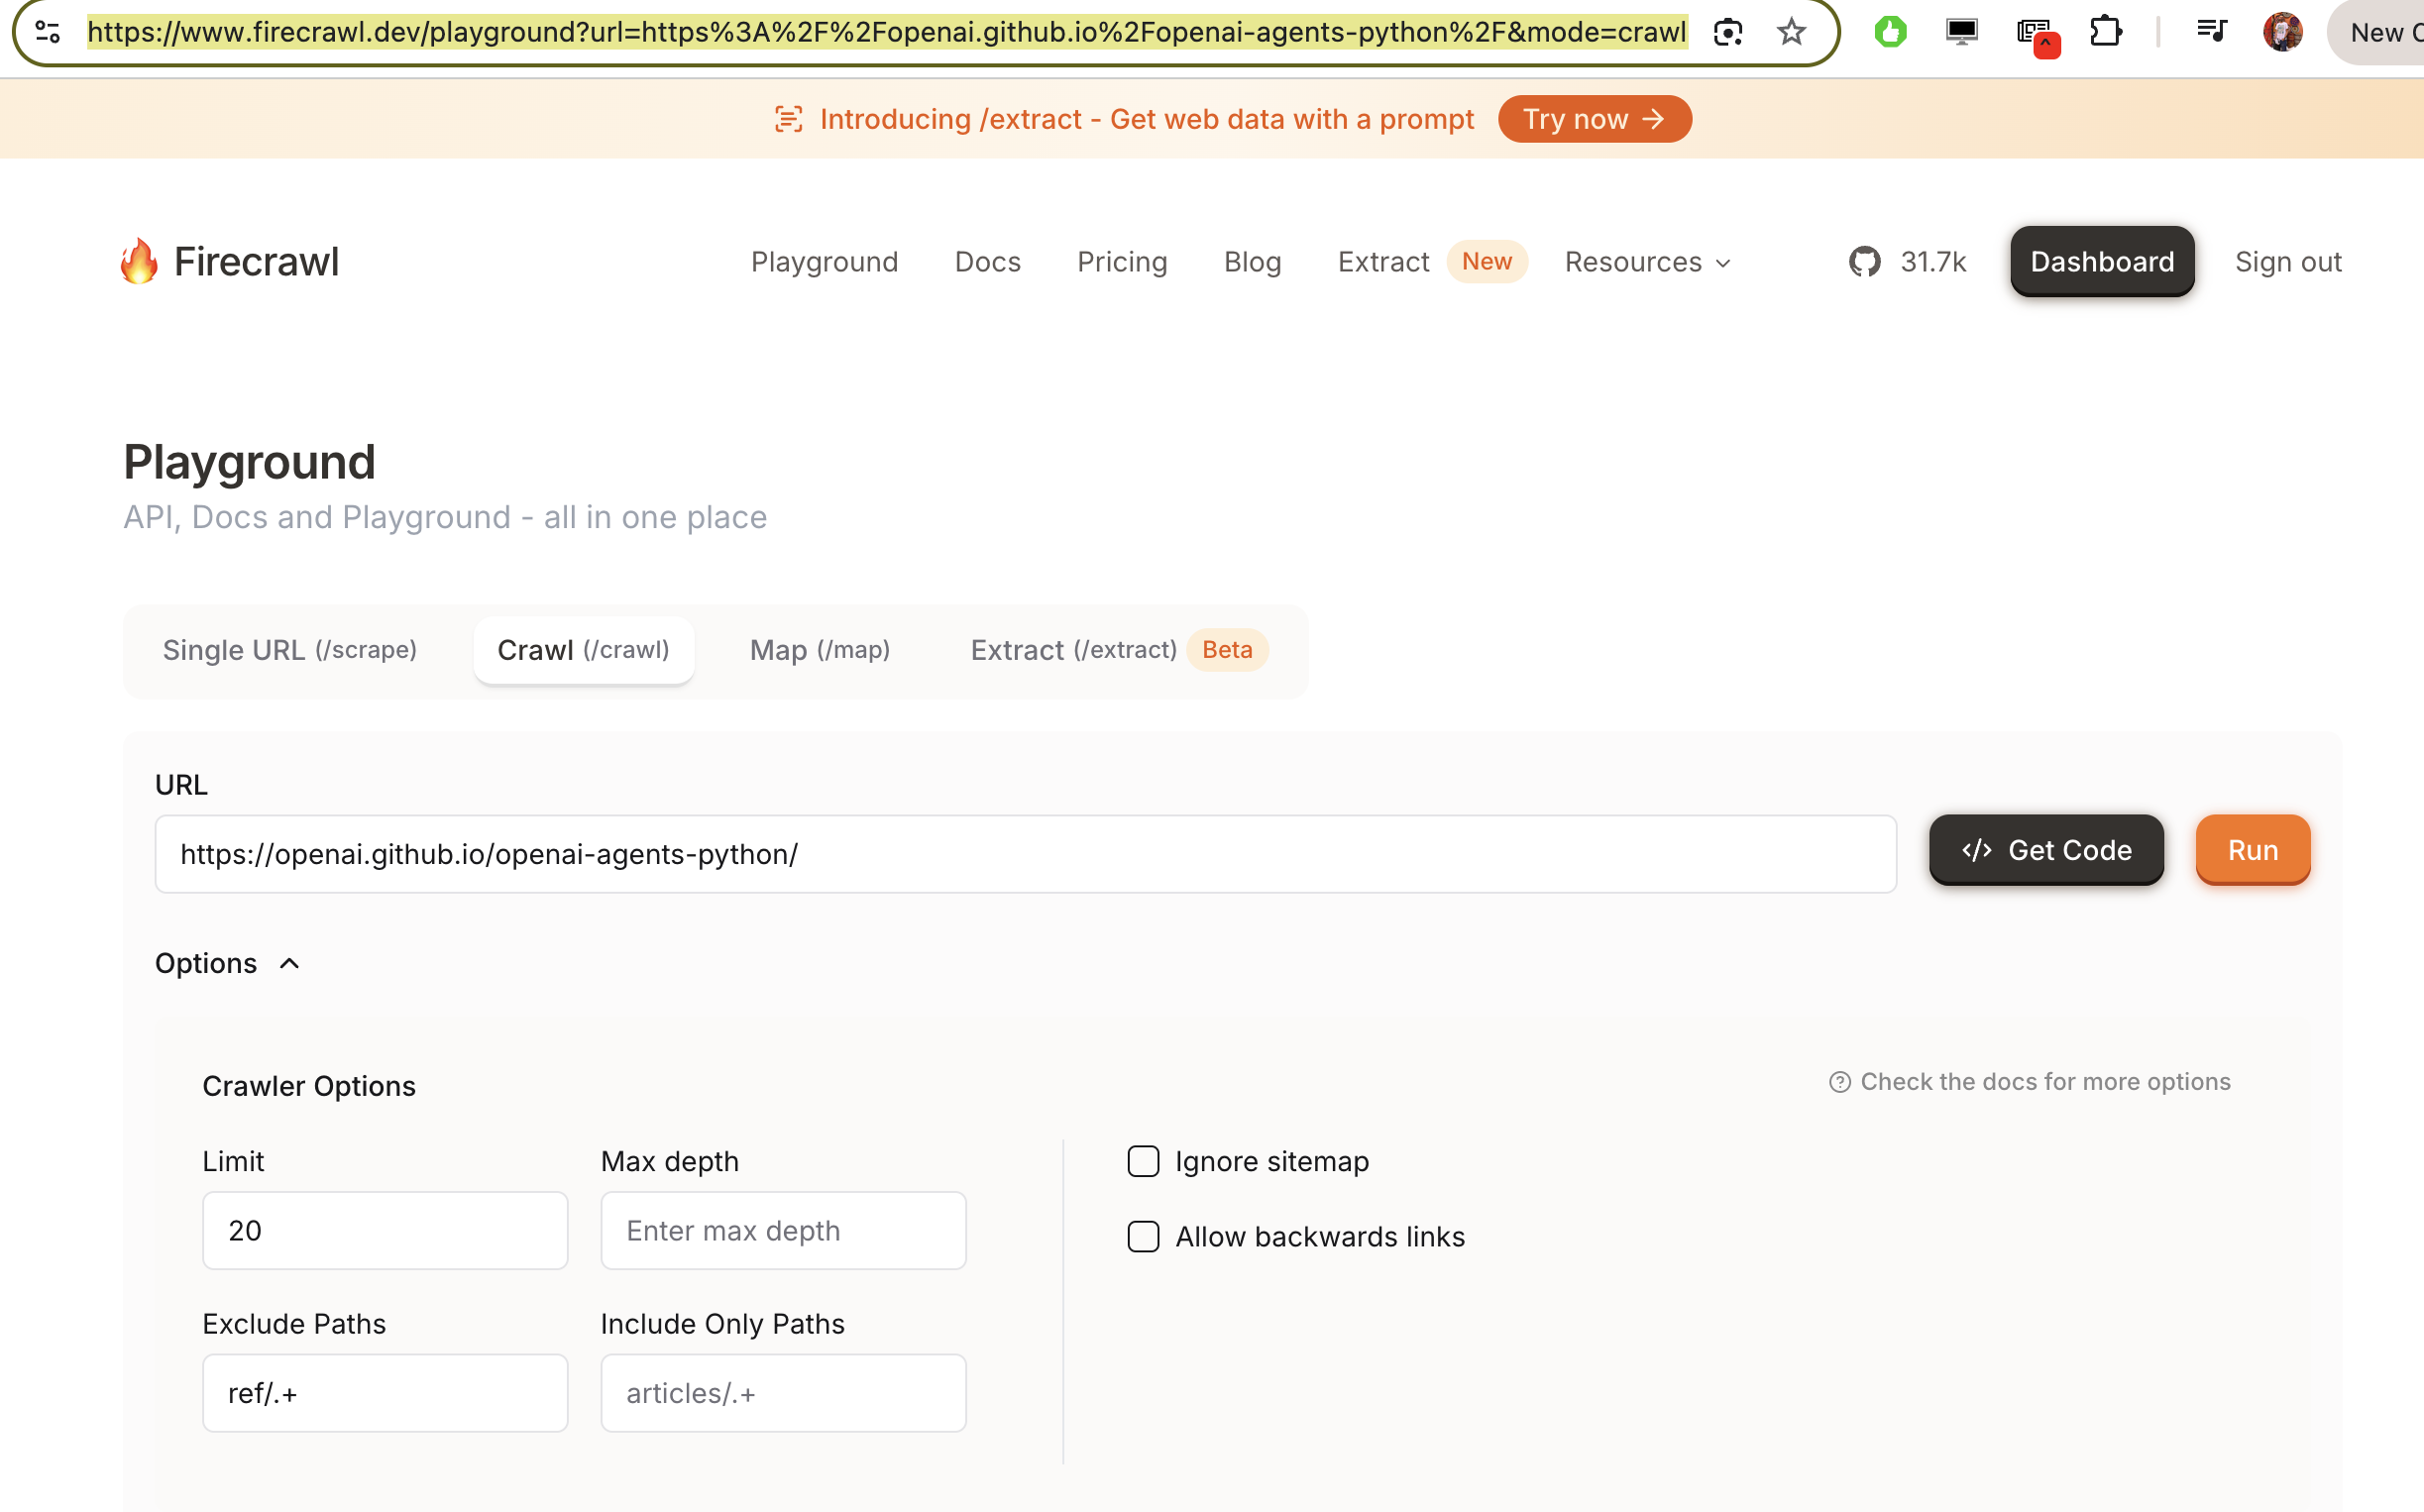
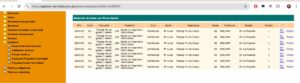
Siguiendo esa URL, veremos lo siguiente:

actas2

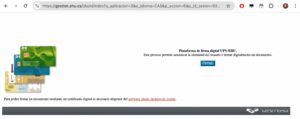
En el código fuente de esa URL veremos que el PDF a firmar está codificado en base64 dentro de un JS. Si ahora pulsamos en «Firmar», se inicia el proceso de firma digital.

El browser llamará a Idazki Desktop (una aplicación residente de Izenpe, que intercepta las URL que comienzan con el protocolo idazki://). Este script del navegador pasará el PDF a firmar (en base64) a Idazki Desktop para que el usuario (el profesor) seleccione el certificado con el que quiere firmarlo. Una vez firmado, Idazki Desktop devolverá el control al navegador. Este comprobará que todo está OK y enviará el acta firmada a la EHU. Pero hemos dicho que queremos diseccionar, así que hay que meterse en harina… ok, no te aburriré con los detalles en este post, pero puedes verlos aquí si te pica la curiosidad 🙂

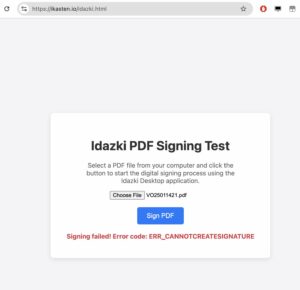
Para confirmar que entendí correctamente el funcionamiento del proceso se me ocurrió crear una pequeña web de prueba: https://ikasten.io/idazki.html

actas3

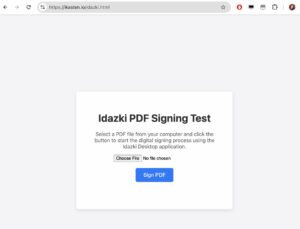
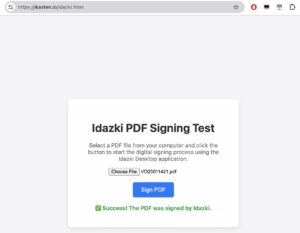
La idea es que puedas subir un PDF cualquiera (te dará la opción para seleccionarlo de tu disco duro) para que mi script lance la aplicación Idazki Desktop y puedas firmar el PDF con tu certificado digital. Si la firma se completa, te dará un bonito mensaje de éxito. Si no, te informará del error.

P: ¿No necesito identificarme? R: No. Idazki Desktop solo recibirá un PDF y una orden de firmarlo digitalmente. Ahí sí, verás tu lista de certificados digitales. Selecciona el tuyo, introduce el PIN y la aplicación Idazki firmará el PDF, devolviendo el control al navegador.

P: ¿No estarás guardando el PDF en tu servidor? R: No. El navegador carga el PDF en un blob base64 en local. No se envía nada al servidor. No tienes por qué creerme, abre el código fuente de idazki.html y lo verás.

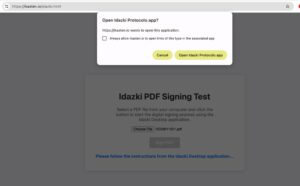
Abre la URL de prueba: https://ikasten.io/idazki.html

Selecciona un PDF. Pulsa en Sign PDF. El navegador debe abrir Idazki Desktop.

actas4

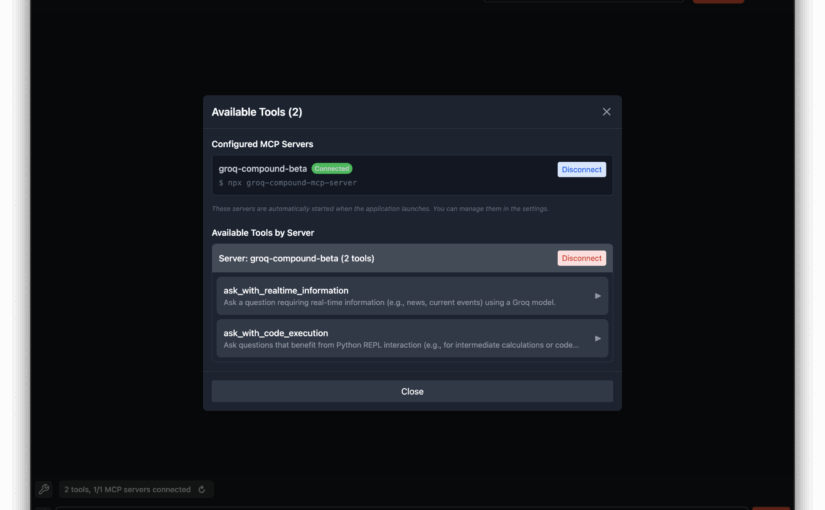
Idazki Desktop debe abrir una ventana «nativa» (es una app Java usando Swing, el look&feel le delata) para que selecciones el certificado con el que quieres firmar. Pulsas Aceptar y te pedirá el PIN o la clave asociada. Lo introduces y …..

actas5

¡Bum! Si estás en macOS con un procesador ARM fallará 🙂

actas6

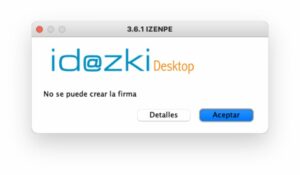
Con este mensaje de error:

actas7

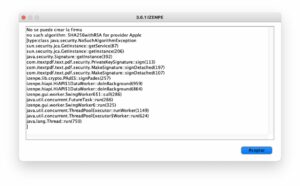
Pero eso es otra larga historia que os contaré otro día (por qué falla, cómo encontrar el bug y cómo arreglarlo SIN tener acceso al código fuente). Una bonita historia que explica cómo parchear un binario Java del que no tienes el código fuente, usando IA por el camino.

actas8
Pero si usas un sistema operativo + procesador soportado (o el parche del que os hablo si usas macOS+ARM), todo irá bien:

actas9

Addendum:

¿Y podría bajarme el PDF firmado? Yep. Si quieres tener esa opción, he preparado otro script de prueba más completo aquí: https://ikasten.io/idazkiFull.html

actas10

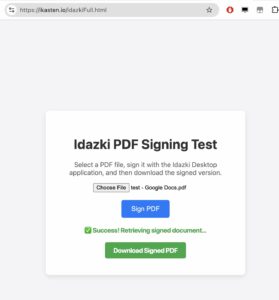
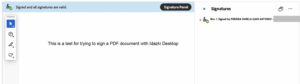
Una vez firmado el PDF, pulsa en «Download Signed PDF» y podrás descargártelo. Si lo abres con alguna aplicación que soporte la visualización de firmas en PDF, como Adobe Acrobat Reader, podrás verla:

actas11

Groq Desktop Beta: A Game-Changer for MCP Support

Groq has just released Groq Desktop in beta mode (https://github.com/groq/groq-desktop-beta), and I’ve had the chance to try it out. What caught my attention was its impressive MCP support, which seems to outshine Claude Desktop. Here are three reasons why:

  1. YOLO Mode: Groq Desktop allows you to accept tool execution without asking questions, making the process smoother.
  2. On-the-fly Server Reload: Unlike Claude, where you need to restart the app to reload MCP servers, Groq Desktop lets you do it seamlessly.
  3. Hot Enable/Disable MCP Servers: You can enable or disable MCP servers on the fly, without needing to reload Groq Desktop.

These features make Groq Desktop a strong contender in the MCP support arena. Have you tried it out? What are your thoughts?

Remarkable Pro / Hackers gonna hack

Tengo una remarkable pro. Quiero conseguir 3 cosas:
1) Poder acceder via ssh
2) Poder sincronizar mis archivos usando mi propio cloud. Solución: rmfakecloud (no el cloud privativo de pago de remarkable)
3) Poder usar el pen de la rM como el pen de una tablet. Solución: remarkable-mouse

  1. https://support.remarkable.com/s/article/Developer-mode
  2. Instalar:

3. Instalar: https://github.com/Evidlo/remarkable_mouse

  • Lanzar así: python -m remarkable_mouse –key ~/.ssh/id_rsa_remarkable

    How to understand new frameworks (like OpenAI Agents SDK) using an LLM

    Recently, OpenAI published its framework https://openai.github.io/openai-agents-python (A lightweight, powerful framework for multi-agent workflows). I wanted to try it out, but I didn’t have much time… so I resorted to a new technique I’ve been using lately to do quick tests on new frameworks I want to explore.

    1. Access the online documentation: https://openai.github.io/openai-agents-python/
    2. Open Firecrawl.dev. This application will allow us to crawl a website, extracting the main text into markdown or json format. The idea is to collect all the HTML documentation of the framework to be explored in plain text.
      • I have indicated that it should not include pages that contain the path ref/.+ to avoid overloading the LLM with extra context (I’ll explain this in a second)

    3. Download the results:

    4. Unpack and check:

    5. We attach the .md as context to Claude. We can do it by drag&drop or by concatenating all in a single file using cat *.md > documentation.md and uploading that single file.

    6. The prompt: Read the following info about how to create an agent with OpenAI Agents SDK. I want to create an agent that knows how to fetch info from a webpage. We can use a python function that internally uses request

    7. Claude got it right on the first try, and was able to generate an agent, using the new OpenAI Agents Framework, that we can use to ask questions about any website.

    TIL: how to install iptv simple client in Kodi + webOS

    I had been thinking for a while that I would take advantage of Christmas to install Kodi on my LG TV (webOS). So yesterday I got to work on it.

    The installation is straightforward by following this mini-tutorial: https://kodi.wiki/view/HOW-TO:Install_Kodi_for_webOS. The problem arose when trying to install the IPTV Simple Client. This client has several dependencies, including inputstream.ffmpegdirect and inputstream.rtmp, which are not available in the Kodi repository for LG. It is necessary to download and install the pre-compiled binaries.

    Just download the binaries from this repo:

    https://github.com/satgit62/pvr.hts-tvhead-client-on-LG-webOS?tab=readme-ov-file

    (or build them if you feel adventurous)

    Then, use webOS Dev Manager to upload the zips to ~/apps/usr/palm/applications/org.xbmc.kodi/addons. Unzip them:

    $ unzip inputstream.ffmpegdirect.zip
    $ unzip inputstream.rtmp.zip

    Reboot Kodi. Accept the messages that Kodi will display indicating that it has discovered two new add-ons. Open the settings of IPTV Simple Client.

    When this add-on is enabled, it displays all channels it can make available from the M3U file you specified during the configuration step, under the menu option ‘PVR & Live TV’ (you can’t «run» the add-on like you do with the others). Since it starts automatically when Kodi starts, there is no ‘run’ option. When the add-on is configured with a working channel list (*.m3u), it will scan that list and display all available channels in the main window.

    Bonus: TIL: you can use CanI.RootMy.TV to find an exploit for your TV.